Welcome to my Twelve Weeks of Christmas Series! Every Sunday I'll bring you a fun Christmas project that you can recreate for the holiday season! These will be great for stocking stuffers, teacher, coworker, neighbor and family treats and gifts! Join me live in my Facebook VIP Group every week for the video or catch the replay here on my blog after.
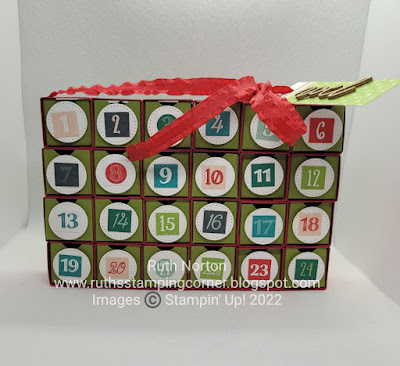
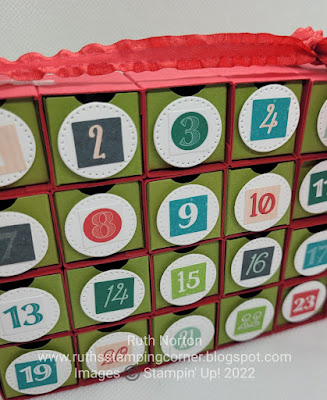
This week I'm kicking the series off with a super cute advent or Christmas countdown. I love advent calendars and so do my kids. Let's face it getting multiple advent calendars can really break the bank! This is one that doesn't take up a ton of space and you can make a few for gifts. Or better yet, get the kids involved to make their own. I'm using the Santa Express Memories and More Pack for all of my numbers. This memories and more pack really makes this project easy! Because you only get one sheet of numbers in the pack if you are making multiples you'll need one package per calendar. Check my blog Monday and Tuesday this week, I'm sharing other fun ways to use the rest of the Memories and More cards in the package.
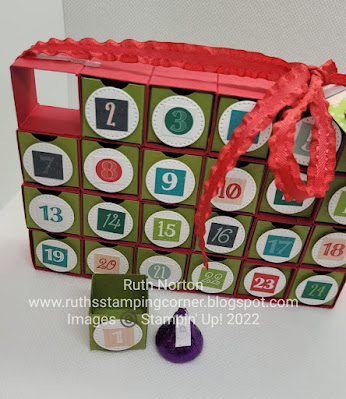
The boxes are 1" x 1" x 1" which is the perfect size for a Hershey Kiss, which is what I have in mine. You could put other small treats too. Or maybe notes of encouragement, bible verses, riddles/jokes, service projects acts, etc. Don't let the small size fool you there's so much you can do!
You'll need 24 boxes total. This is the most time consuming part, but the boxes do go together quickly and if you do them in assembly line style it will go much quicker. Do all the trimming for all of them at once, do all the gluing for all of them at once. For my box, my measurements are down to the 16th of an inch. I know that seems complicated but our Stampin' Up! trimmer has measurements that small and to make the boxes slide in and out easily you need to measure to the 16th inches.
For each box (24 boxes total) you'll need:
Old Olive 2 13/16" x 2 13/16" score all four sides at 15/16"
Real Red 4 1/4" x 1" score at 1", 2", 3" and 4"
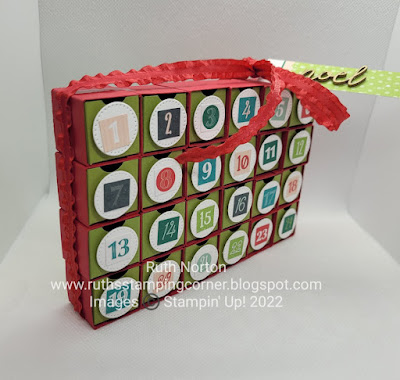
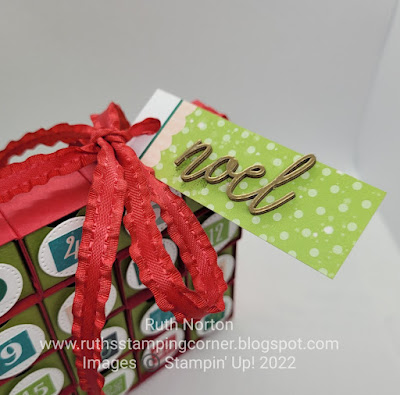
After the boxes were all assembled I adhered them together in rows of 6 each then stacked them and adhered them together. Use the number in the Memories and More Kit to number them all and add ribbon and a tag to finish it.
I have a full supply list below. You can shop for these products in my Online Store. Check out my video for all the details and make sure to subscribe to my YouTube Channel so you never miss a video.

2 comments:
Wow they look great!
I'm going to have to try this. Thanks for sharing.
Post a Comment