Tuesday, June 26, 2018

Stamp Camp Wrap Up

I love stamp camp so much!  It's such a fun event and because it's all geared around the brand new catalog and everyone gets to use brand new products there's always so much excitement in the room!  If you've never attended stamp camp, plan to attend next years!  We always kick off stamp camp with the retired stamp set sale! This years sale was huge, HUGE!!!  My BFF Kim is standing all the way at the end of the sale tables, she's so tiny!  That's how big it was!!! 
Not all of this is my stuff.....though a great deal of it is.  I always ask a few of my team members to help me at my sale, this is not a one person job.  For helping me I allow them to sell, so this is also some of my team members stuff too.  You can find great deals at this sale, there was TONS of stuff marked down to under $5!!  The sale opens before stamp camp at 9am, and stamp camp attendees get to shop first, an extra perk for attending stamp camp.  At 10am the sale is open to anyone to come shop.     
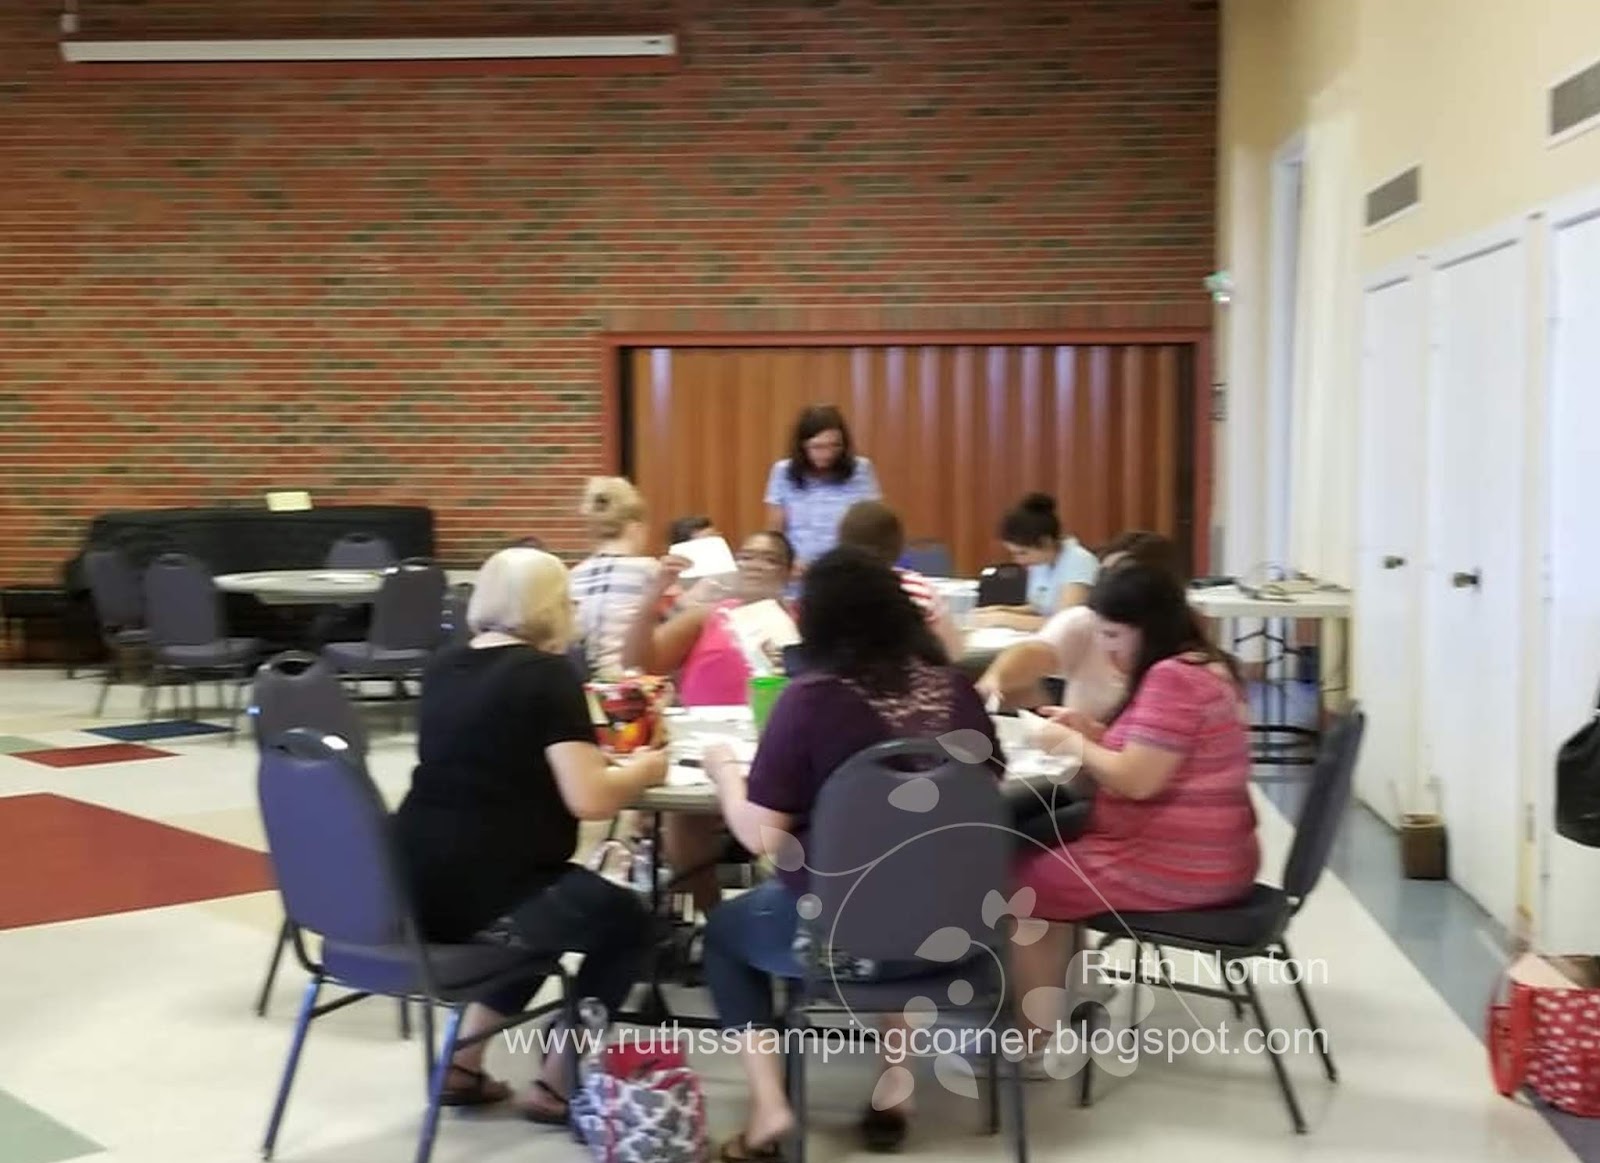
Once stamp camp opens at 10am it's time to stamp!  My guests get to make 6 cards all featuring brand new stamps, colors and accessories.  This year because we have so many new colors to work with I only ended up using one new In Color.  Don't worry my July class is all about the new In Colors!
Every table is set up with a different card and everyone just rotates from table to table until they've made all the cards.  I heard lots of good things from everyone about the cards that they got to make, so here they are!  
This one features the new Vivid Vases set and punch along with the new colors Petal Pink, Mango Melody and Gray Granite. 
This one features the new Detailed With Love set and the trio punch.  LOVE that punch!!!  Plus the new Very Vanilla Polka Dot Ribbon and Merry Merlot!
This one is my favorite color ever!  Coastal Cabana!!! It also features the new Glitter Enamel Dots and the Painted Glass set.
This card might be my favorite from the class.  It uses one of my new favorites, Abstract Impressions plus the amazing color combo of Highland Heather, Gorgeous Grape and Granny Apple Green!  We also used the new Tufted embossing folder which is GORGEOUS!!!!
 This beautiful gold embossed card uses Grapefruit Grove and the Accented Blooms set.  So pretty!
Finally this one from the Lilypad Lake set.  I love this card.  It's so simple but so stunning.  If you don't think you like Soft Sea Foam you haven't tried it yet.  It's awesome!  I won't have any more posts this week, I'm taking a blogging break get July organized! I've been keeping the kids super busy!  We've been on the go and have had more planned this summer than ever before.  Which is great, but it's exhausting!  The kids are fine, I'm worn out LOL! So I'm taking the rest of this week 'off' and I'll see you on Monday!

Thanks for looking, see you soon!!!

Monday, June 25, 2018

Pelican Surprise

Of all the animals in the Postcards Pals set, the pelican was the one I was sure I'd like the least.  I just didn't think he was that cute. Then I colored him and I was instantly converted to loving pelicans, or at least this one.  He surprised me and made me love him!  The card turned out soooo adorable too!  I cut a little window in the front of the card.....  


....and adhered the pelican inside the card.  I love this layout, it's such a fun and different design. 

He's colored with the Stampin' Blends and seriously if the fish is that happy to be in the pelicans mouth who are we not to love him too!  Plus he's wearing an aviator hat and googles. I mean come on!!  So cute!!!!  Over the weekend I had my huge New Catalog Stamp Camp! I have lots to share all about it tomorrow, check back!

Thanks for looking, see you soon!

Friday, June 22, 2018

A Cute Platypus

I'll be honest, I had to google what a platypus looks like.  You guys I live in New Mexico, they're not native here. Our aquarium and zoo don't have them so yeah I didn't know what they looked like. My son however is an expert on all animals so he told me and I have to say after googling them, he was right.  They're just kinda brown.  After adequate research I could start coloring. 
Of course I grabbed my Stampin' Blends again and got to work.  I think coloring with the blends is so satisfying. Plus even if you make a mistake the Color Lifter is your best friend and will erase your mistakes, well if they're minor ones.  I mean if you accidentally color him blue, you might have to start over. LOL.  I love him more than I thought I would.  He's really cute and sweet!  The greeting on this card is from the new Tree House Adventure set.  Join me Monday, I have the last of the 3 Postcard Pals cards to share and the pelican is not to be missed, he surprised me most of all!

Thanks for looking, see you soon!!!

Thursday, June 21, 2018

An Otter To Love

The otter in the Postcard Pals set is so stinkin' cute! When I saw him in the catalog I had to have him!!!  He was my favorite in the set and his sweet little face is just irresistible.  How can you not love him!!?!  He reminds me of the otters in Finding Dory, cuddle party anyone??  Plus he's holding a card, next to a mailbox that says 'cards' and he's wearing a little shirt.  Seriously, I can't take how cute he is, I just can't handle it! Of course I had to break out my Stampin' Blends to color him.  I love the bright, bold vibrant colors you get with the blends.    
As if the card wasn't cute enough I added a greeting inside too.  I don't often do this until I know exactly who I'm sending the card too, then I can customize the card a little more. But I had to for this one.  I colored the other cute critters in the Postcard Pals set.  I honestly didn't think I'd love them as much as the otter, seriously how could you?  But they're pretty stinkin' cute too!  Check back tomorrow and Monday for those cards!

Tuesday, June 19, 2018

Stamp-a-Round With Broadway Bound

At the meeting last week I shared the Stamp-a-Round or Round About stamping technique using the Stamparatus.  This is a really fun technique that is so easy to do! It's also a little addicting.  You need your Stamparatus, some grid paper sized to fit in the Stamparatus (mine was about 7" x 7"), then you need a square of cardstock.  The size of this is dependent on the image your stamping in a round.  My samples here both uses pieces of Whisper White cardstock that are 4 1/2" square.  The finished cards are 5" square.  
On your scrap grid paper you're going to trace your square in the center, then rotate your square a quarter of a turn so that your square is now diagonal on the one you just traced.  Trace it again in the diagonal position, you should end up with an 8 point star.  This is your stamping base.  Position your cardstock in one of the squares on your base and place your stamp where you want it, close the plate of the Stamparatus to pick up the stamp.   Every time you stamp you're going to rotate your cardstock a quarter turn, lining it up with your pattern on your stamping base every time, until you've stamped all the way around.  You'll eventually stamp 8 times.  If you're using multiple colors, clean your stamp every time and just keep rotating and stamping.  
This technique looks great in a rainbow of colors but it also looks great with a simple color palette of one or two colors. Both of these cards were made using the new Broadway Bound Suite.  I love these big, bold greetings!  This is definitely going to be a fun Suite to play with more! 

Thanks for looking, see you soon!!!

Monday, June 18, 2018

Embossing With Framelits

One of the new products I'm most excited about in the new catalog is the new Embossing Mats! These mats take your ordinary cutting framelits and makes them embossing framelits.  So now ANY framelit you have in your collection can emboss with these mats! I love that!!!  This card I use the Graceful Glass Suite and really made a stunning card with all that embossing!
All the embossing you see is done with framelits that are intended to cut! It's a beautiful new way to jazz up cards! I colored the roses with my Night of Navy and Old Olive Blends and I paired up Balmy Blue and Night of Navy for the card.  I love them together!  I added a little piece of the Graceful Glass Vellum and a greeting from the Painted Glass Stamp Set.

For more information on how you can use your framelits to emboss with the new embossing mats check out this video from Stampin' Up!

Thanks for looking, see you soon!!!


Friday, June 15, 2018

Downline Swaps

At my meeting this week we had a card swap.  I love seeing everyone's work.  Often it's stamps or accessories I don't have and I love seeing it in person! My team did an AMAZING job.  Their swaps are fantastic!  Here's all the swaps from the meeting!

Done by Kim M

 Done by Kim M (she did 2, one for her and one for her new recruit)

 Done by Kim S (I really have team members with other names I promise!)

 Done by Pam L

 Done by Michelle C

 Done by Gina G

 Done by Erin C

 Done by Mellisa H

 Done by Cindy D

 Done by Anne D

Done by Kristin F

Thanks for looking, see you soon!!!

Thursday, June 14, 2018

Meeting Make and Takes

On Tuesday evening I hosted a meeting for my local team members.  We stream the meeting and the demos live for those members of my team who aren't local so they can still participate.  At the meeting my team got to make these two make and takes.  The first is a sweet little tote bag.  I had 4 of the new In Colors to choose from for these bags.  They're super easy to make from a 6" x 6" piece of DSP.  The handles are 1/2" x 6, you'll need 2 of those.  After you cut the handles you're left with a 5x6 piece of DSP that is the exact size you need to make these totes!  On the 5" side score at 1" and 4", on the 6" side score at 2 1/2" and 3 1/2".  Then it's just like assembling a bag or box.  Trim your tabs and adhere together!  The greeting is from the new Little Elephant Stamp Set. 
Their second make and take was made with the Animal Outing set and the Abstract Impressions set.  I saw this cute animal pattern background on Erica's blog and I LOVED it!  What a great idea!  I love this cute card with the giraffe!!  If you're interested in joining me for my next team meeting in August, please join my team!  I'd love to have you!  If you wishlist from the new catalog is over $100 now is a GREAT time to join and get those products in your kit and then at a discount after!  Contact me for more info or if you're ready, sign up here!

Thanks for looking, see you soon!!!!

Wednesday, June 13, 2018

Twist and Fold Card

I keep seeing these super fun twist and fold cards all over.  I can understand why though, they're so much fun and they're super simple to make!  For my card I got the measurements from this video by Julie Davison.  It's super simple, all you need is a 7 1/2" x 4 1/4" piece of cardstock.  You can make different sizes of this card and larger ones.  This size ensures that even when folded it will still fit in a standard envelope.  I like this smaller size the best!
On the 7 1/2" side score it at 2 1/2" and 5".  The only tricky part of scoring is the diagonal scores but even that is super simple, all you need is a bone folder and a ruler!  You will score diagonally from the top left to the bottom right on the first and third rectangles on the card.  That's it!  Fold on all your score lines and you're ready to go! Easy peasy, lemon squeezy! 

Thanks for looking, see you soon!!!!

Tuesday, June 12, 2018

Abstract Swap

I have a team meeting tonight.  I love these nights, my team is so amazing and talented and we always have such a good time at our meetings.  I'm always looking for more people to join my team, if you're interested contact me or sign up here now.   We're doing a swap tonight.  I can't wait to see the amazing swaps I'll get!  I'll make sure to share them here! The theme for the swap was new catalog items.  I used the Abstract Impressions Set (obviously, I'm addicted to it!). Plus I used the 'hello' greeting from the Accented Blooms set.  
I didn't use any of the layering stamps for this card.  I simply used the biggest, boldest layer for each flower.  It's one of the reasons I love this set, the flowers look incredible with or without the layering stamps.  I used lots of new colors on this card, there's Gorgeous Grape, Mango Melody, Granny Apple Green, Coastal Cabana and Highland Heather.  The greeting is punched out with the Tailored Tag punch and layered on a vellum circle punched with the 2 1/4" Circle punch.  Then it's layered on a little White Polka Dot Tulle Ribbon.  So pretty!!!

Thanks for looking, see you soon!!!

Monday, June 11, 2018

More Graceful Glass

One of the pieces in the Graceful Glass Designer Vellum is a piece that you can cut apart into 4 long strips.  Well they are perfectly sized for bookmarks so I wanted to make a set of cards with each of the strips used as a removable bookmark. What a wonderful gift to find in your mail box. Not only a beautiful card but a bookmark that you can use over and over! So fun! 
I used my Stampin' Blends to color all of these.  I colored them on the front for more bold colors.  I just love how they came out.  I coordinated each card with the color of blends I used.  The first card uses Old Olive, this one is Daffodil Delight, then we have Rich Razzleberry and Calypso Coral.   
The white piece on the card base is clear embossed with the large floral image from the Flourishing Phrases set.  I thought that would add some nice texture to the white piece. 
I don't know if I have a favorite, I love them all!!!  But I especially love how this Calypso Coral one came out! Or maybe I just love the flowers LOL! They're all beautiful! 
The bookmarks are held in place with the greeting strip but can easily be removed for use.  So cute!!!  I love this fun set of cards. Wouldn't it be a fun gift for a book club or a bible study group.  I'm sure everyone would love it!

Thanks for looking, see you soon!!

Thursday, June 7, 2018

Lovely Lipstick

My June Challenge to my team is to create projects using our new In Colors.  I LOVE our new In Colors soooo much this year.  I think I said that last year, but this year I realllllllyyyyy love them!!!! I can see myself reaching for all 5 of them over the next 2 years.  A lot of times I only end up reaching for 2 or 3 of them. They are all beautiful basic colors that we all use!! There is Lovely Lipstick, Grapefruit Grove, Pineapple Punch, Call Me Clover and Blueberry Bushel.  I can't wait to see what my team creates with these colors!

In the meantime I have a simple fun fold card that used Lovely Lipstick on.  I love this color!  I used the In Color DSP for this as well as some White sheer ribbon.  The fun fold of this card is a card base that is 4 1/4" x 8 1/2", on the 8 1/2" side score at 5 1/2". This will fold up on the bottom. Then there is a simple white card that measures 8 1/2" x 3", on the 8 1/2" side score at 4 1/4".  It's super cute and super easy!  I won't have a post tomorrow, I think for the summer I'll be taking Friday's off.  I'm still working on finding that balance between work and kids this summer, every year it's a new challenge! See you Monday!

Thanks for looking, see you soon!!!

Wednesday, June 6, 2018

Enjoy Life and Graceful Glass

I shared this card on Monday made with the Graceful Glass Designer Vellum. While coloring that one I also colored this one.  I colored on the front of the vellum with my Stampin' Blends for this one so the colors are much bolder and brighter.  Then I stamped in Staz On the person from the Enjoy Life Set.  I used my Stamparatus since sometimes stamping on vellum you don't get a great impression.  I think I stamped it 3 times to get that nice solid black silhouette.  For the greeting I also used the enjoy life set and I stamped the greeting horizontal instead of vertical.  This is easy to do with some masking of the stamp with post it notes when you ink it up.  I started with the 'wake up.' and used a post it not to cover the rest of the greeting, inked it, removed the post it note and stamped it on my paper.  I cleaned my stamp and did the same thing masking and inking different parts of the greeting until it was complete.  I finished the card with some gold star sequins that were  from a Paper Pumpkin kit from a while ago.  I love this card, what a sweet encouragement card to send to a friend!

Thanks for looking, see you soon!!!!

Tuesday, June 5, 2018

Waterfront Beach

Inspirations comes in weird places sometimes.  We were in a store last week that had a beach bag with this greeting on it, I wish I had snapped a picture of the bag.  I thought it was cute and clever so I turned it into a card.  I used the Waterfront set with was in the Occasions Catalog but carried over and is in the new catalog now.  This set has endless possibilities.  There is soooooo much you can do with it.  This cute and simple beach scene is just the beginning.  
To finish up my card I cut out my beach with the largest Stitched Circle Framelit then I cut a coordinating scallop circle with the Layering Circles Framelits.  I did the greeting using the Labeler Alphabet.  Finally finished the card with some Burlap Ribbon and Gold Sequin Trim.  So cute!!!  I love it!!!!

Thanks for looking, see you soon!!!

Monday, June 4, 2018

Graceful Glass Birds

The Graceful Glass vellum in the new catalog is simply stunning. I think I've been a little intimidated with it so I hadn't created anything with it.  Last week I decided to just color them, I picked a few of the patterns and my blends and just started coloring.  Well I loved it!  I love the way the blends color on this vellum and I love the stained glass look!   
I colored the back of the vellum and I love the look of it.  The colors are slightly muted because it's colored on the back but we have so many bright color options that the colors still shine bright!  I attached my vellum with a few staples and added a greeting from the new Itty Bitty Greetings set.  I can't wait to share more with this amazing vellum!

Thanks for looking, see you soon!!!