Wednesday, November 8, 2023

Stampin' Blends Week-Blending Backgrounds-VIDEO

Over the weekend I held a fun event for my team and I shared lots of fun background techniques with Stampin' Blends.  This week I'm going to share all five cards here for you to see too!  Check back every day this week for another amazing card with a fun background made with our Stampin' Blends.  Each card features some brand new and/or upcoming products too!  Today I'm sharing a background where the only special tools you need are a cottonball and some rubbing alcohol.  I used a piece of vellum and scribbled Balmy Blue and Night of Navy Stampin' Blends for the sky and used Granny Apple Green and Old Olive for the grass.  Then using a cotton ball with the rubbing alcohol, I dabbed over the scribbles to make a gorgeous background.  

stampin up, fluffiest friends

I love using a cotton ball for this because you have lots of control where you can blend it.  If you want darker more intense color, let it dry completely then repeat the steps again, until you get your desired look.  What kind of rubbing alcohol do I use?  I use Isopropyl Alcohol 91%.  I like the higher concentration because it evaporates and dries faster.  I picked mine up in my local pharmacy.  

My card uses the new Fluffiest Friends Bundle that was released in the Online Exclusives yesterday!  I love this one!  I used the Throughout The Year Set for my greeting.  

My vellum is mounted on an adhesive sheet then adhered to a piece of Basic White Cardstock. 

Make your own:

Moody Mauve 8 1/2" x 5 1/2" score the long side at 4 1/4"

Crumb Cake 5 1/8" x 3 7/8"

Basic White and Adhesive Sheet 5" x 3 3/4"

Scraps of Basic White for stamping and die cutting

Check out the video for all the details on this card. While you're there make sure to susbscribe to my YouTube Channel so you never miss a video.  I have a full supply list below.  Shop for these products in my Online Store.  

stampin up, fluffiest friends

Shop my Online Store

Tuesday, November 7, 2023

Stampin' Blends Week-Straw Blending

Over the weekend I held a fun event for my team and I shared lots of fun background techniques with Stampin' Blends.  This week I'm going to share all five cards here for you to see too!  Check back every day this week for another amazing card with a fun background made with our Stampin' Blends.  Each card features some brand new and/or upcoming products too!  Today I'm sharing a background where the only special tools you need are a straw and some rubbing alcohol.  I started with Vellum Cardstock and scribbled Melon Mambo and Poppy Parade Stampin' Blends on it.  Using one of our Stampin' Spritzers, spray some alcohol onto the vellum.  Here's where it gets really fun.  Use the straw and blow the alcohol where you want it go.  The colors will start blending together and as it dries you're left with an amazing background.  You can also use a heat tool to blow it around, though this will speed up the drying process and you won't be left with the 'organic' blending.  I prefer the straw.  It's slightly more work but I think it's more controlled.  
 
stampin up, bee mine

What kind of rubbing alcohol do I use?  I use Isopropyl Alcohol 91%.  I like the higher concentration because it evaporates and dries faster.  I picked mine up in my local pharmacy.  My card is finished with a greeting from the Bee My Valentine Bundle.  This bundle will be in the next mini catalog coming out in January, demonstrators will be able to preorder it in December.  It's always a great time to join my team so you don't miss perks like fun team events or getting products early!  

Your vellum piece will be warped from the moisture added to it, I used an Adhesive Sheet that covers the entire back to adhere it down.  I used the Share a Milkshake dies for my heart die cuts and the grid behind my tag.  My tag is also die cut using the All That Dies.  It's a gorgeous card when it's all complete.  Give this one a try!  I have a supply list below.  You can shop for these products in my Online Store. 

stampin up, bee mine


Monday, November 6, 2023

Stampin' Blends Week-Cotton Ball Dab

Over the weekend I held a fun event for my team and I shared lots of fun background techniques with Stampin' Blends.  This week I'm going to share all five cards here for you to see too!  Check back every day this week for another amazing card with a fun background made with our Stampin' Blends.  Each card features some brand new and/or upcoming products too!  Today I'm sharing a background where the only special tools you need are a cottonball and some rubbing alcohol.  I used a piece of vellum and scribbled Bubble Bath and Fresh Freesia Stampin' Blends.  Then using a cotton ball with the rubbing alcohol, I dabbed over the scribbles to make a gorgeous background.  

stampin up, be mine

I love using a cotton ball for this because you have lots of control where you can blend it.  If you want darker more intense color, let it dry completely then repeat the steps again, until you get your desired look.  What kind of rubbing alcohol do I use?  I use Isopropyl Alcohol 91%.  I like the higher concentration because it evaporates and dries faster.  I picked mine up in my local pharmacy.  My card is finished with fun images from the Bee My Valentine Bundle.  This bundle will be in the next mini catalog coming out in January, demonstrators will be able to preorder it in December.  It's always a great time to join my team so you don't miss perks like fun team events or getting products early!  

My vellum is mounted on an adhesive sheet then adhered to a piece of Basic White Cardstock.  It's all mounted on a Bubble Bath card base.  I LOVE the pinks and purples in this card.  Adorable!  I have a full supply list below.  Shop for these products in my Online Store.  

stampin up, be mine


Sunday, November 5, 2023

Twelve Weeks Of Christmas Week 6-Beary Christmas Box-VIDEO

It's week 6 of my Twelve Weeks of Christmas!  How are we already halfway through this series!  Wow!!  I'm so excited you're here today!  I have a cute box to share!  I'm using the Beary Christmas DSP, along with the Beary Cute Bundle.  But the DSP is the star today!  Change this box up with any DSP you have, I know you have a stash!  

stampin up, beary christmas

For today's box I didn't design it around a specific product or treat like I usually do, this box is big and would work for so many different gifts.  I love the pattern on this box, it reminds me of a sweater so I think this box would work perfect for a cozy pair of gloves or mittens.  Maybe some socks of a scarf.  The completed size is 3 3/4" wide, 4 3/4" tall and 2" deep.  Think bigger with this box.  If you need it taller, extend the height of the box with your DSP, I started with 12" x 6" DSP piece.  If you want it taller go to 12" x 8", keep the same measurements.  This one is easy to modify!  

stampin up, beary christmas

I did some quick stamping with the Beary Cute Bundle for my tag.  The hat and gift are fussy cut and the bear is punched out.  Even with the fussy cutting this is a quick tag.  I used a magnet to hold my box closed.  You could use velcro or even make a belly band with more DSP.  

stampin up, beary christmas

Make your own:

Beary Christmas DSP
12" x 6"
On the short side score at 1 1/4" (if your paper is directional this needs to be on the bottom)
On the long side score at 3 3/4", 5 3/4", 9 1/2" and 11 1/2"

3 3/4" x 5 1/2"
On the long side score at 1/2" and 2 1/2" (if your paper is directional this needs to be on the top)

Balmy Blue 3" x 3 3/4"

Basic White, Balmy Blue scraps for stamping and die cutting.

Check out the video for all the tips and tricks to this box.  While you're there make sure you subscribe to my YouTube Channel so you never miss a video.  I have a full supply list below, you can shop for these products in my Online Store.  

stampin up, beary christmas


Friday, November 3, 2023

Garden Walk DSP Cards Four Ways

Today I have four cards to share with you.  All made the same way, featuring the Garden Walk DSP in the Mini.  This DSP is one of my very favorite DSP's in the catalog.  It's stunning!  I used four different colors for my card bases and two different inks.  You could easily simplify these cards and use one color ink and cardstock.  

stampin up, garden walk dsp

I started with four sheets of DSP, different patterns each 5 1/4" x 4".  On the left side I made a mark at 1" and 3".  On the right side I made a mark at 2" and 4".  Then I cut diagonally connecting the top marks on each side and the bottom marks on each side.  You'll be left with three pieces of DSP from each sheet of paper.  From here you just mix and match on each card base.  

stampin up, garden walk dsp

It's so easy to do and you'll end up with a stack of cards that are all stunning!  Use DSP from the same package so they all coordinate well together.  To finish all my cards I punched out a greeting from the Throughout The Year Set with the Modern Oval Punch.  I added Lost Lagoon Ribbon behind all of the greetings before adhering to my cards.  

stampin up, garden walk dsp

Each card is finished with an embellishment.  I used a variety of them to complete my cards.  I love that we have so many different embellishments that coordinate with a wide range of products.  I have a full supply list below.  You can shop for these products in my Online Store.  

stampin up, garden walk dsp


Thursday, November 2, 2023

November News and Events!

New Host Code! New Sales and MORE!

I have a new host code for you this month.


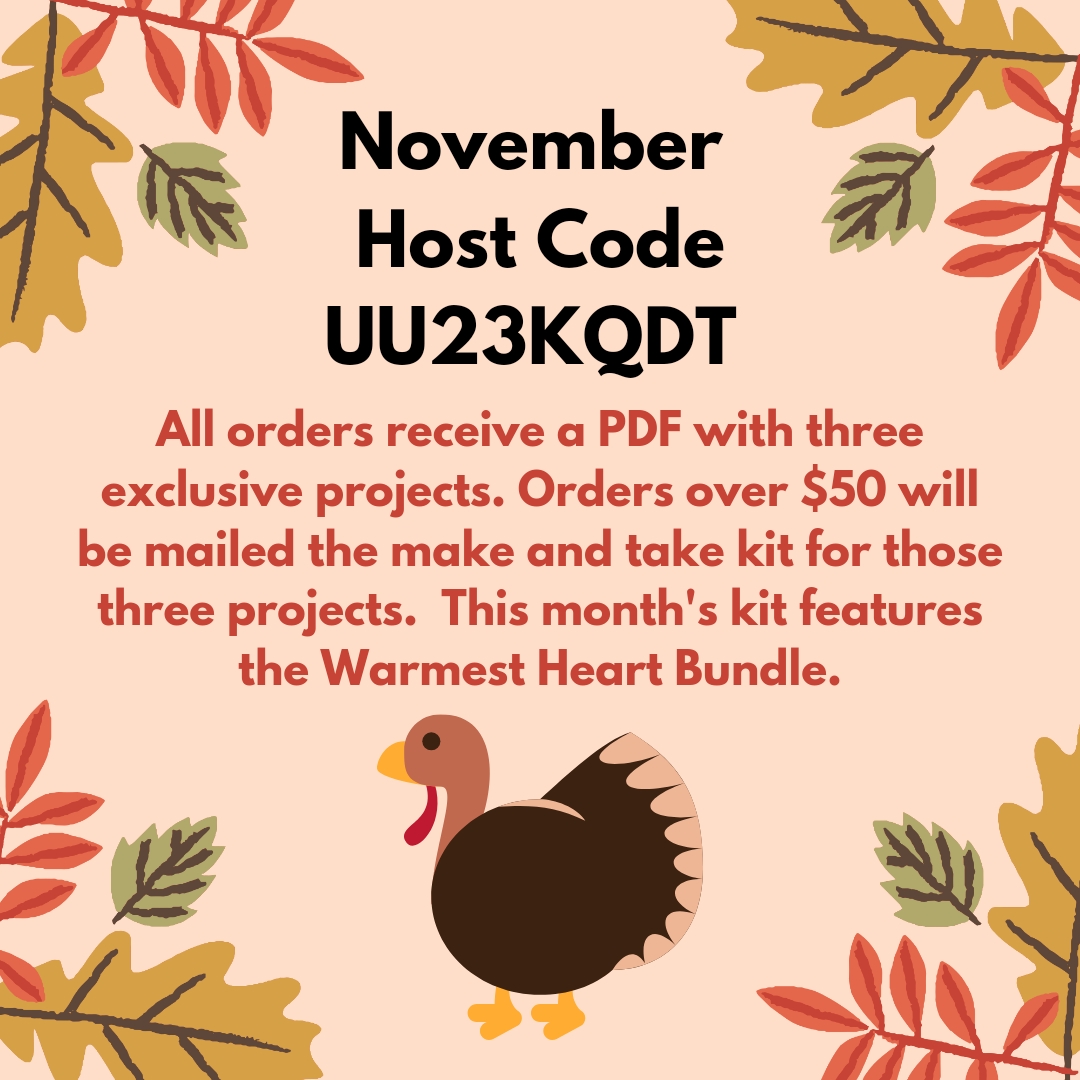
When you shop my Online Store use the host code for additional rewards!  All orders receive a PDF with three exclusive projects. Orders over $50 with the host code will be mailed the make and take kit for those three projects FREE!  Orders over $150 don't use the host code you'll earn Stampin' Rewards on your order and I'll still send you the PDF and make and take kit. 

This months PDF will feature the Warmest Heart Bundle

I'm Thankful for YOU this month so as an additional bonus this month, orders over $50 will get FIVE cards from my basket, chosen randomly and mailed with your Make and Take Kit.  Orders over $100 will receive a free embellishment too!  

HOST CODE: UU23KQDT 

Shop my Online Store here!  

----------------------------------------------------------------------------------------------

November Card Crate Class To Go-More Wishes Set---This month there's an in person option!  Join me in person to make 8 incredible cards!!!


This month's kit is amazing!!!!  I'm featuring the More Wishes Set-one of my favorites!!  You'll need the set to complete your projects, or attend my in person Card Crate.  You're making a stack of cards!  Two each of four designs!  Note: each card does contain some fussy cutting.  These will be a great addition to your holiday cards this year!  Add on the set for just $25, I'll pay the tax and shipping.  (Note you do not need the stamp set if you're doing the class in person)

This month's Card Crate you'll make 8 amazing holiday cards using the More Wishes Set. 

Card Crate is $40 shipped
Card Crate is $35 if you're local in the Albuquerque, NM area choose a porch pick up or attend my in person class.

What you'll get in this month's kit:

  • Supplies for your 8 projects
  • Half Package of the Walk In The Forest DSP
  • Full Roll Of Pecan Pie Center Stripe Ribbon NEW!
  • Full Roll Of Linen Thread
  • Half Package Of Rhinestones
  • Video Tutorial
  • Free Gift
In Person Details:
You will still need to email me as listed above and let me know you want to attend this month's Card Crate Class.  Payment for the class is due by November 8.  

Class will be:
Date: Saturday November 18, 2023
Time: 1pm-3pm
Location: Pinspiration Albuquerque (located in the Riverside Plaza shopping center in NW Albuquerque)

I will provide all the stamps and inks needed. You will need to bring a paper trimmer, scissors and adhesives to class.  Only those paid and registered are eligible to attend the in person class.  
----------------------------------------------------------------------------------------------

NEW Online Exclusives Launching November 7, 2023!!!


We have a new round of Online Exclusives launching in my Online Store on November 7, 2023!  Online Exclusives are products that are found only in my Online Store and will not be in other publications.  These products can be purchased in my Online Store, by contacting me, or ordering them in classes.  However Online Exclusives are only available while supplies last.  If you see it and love it-GET IT!  Sometimes products are restocked, lots of times they are not.  Check out all the new products on November 7 in my Online Store when they launch.  Don't forget to shop with the Host Code for more benefits!  

HOST CODE: UU23KQDT 

See the New Online Exclusives here!

Note: New products will not be added until November 7, 2023.

----------------------------------------------------------------------------------------------

Warm Wishes Paper Pumpkin Kit


Light up the Christmas season with this month’s Paper Pumpkin kit! With traditional Christmas home designs and warm Christmas wishes, spread the light of Christmas with a gift box. Plus, you can get the Warm Wishes Cards & Envelopes Add-On to take your Christmas crafting even further (available while supplies last).

This kit includes:

  • 8 boxes; 4 each of 2 designs
  • 1 Mossy Meadow Stampin’ Spot
  • Iridescent glitter accents on paper
  • Precut paper pieces
  • Linen thread
  • Treat bags
  • Warm Wishes photopolymer stamp set
  • Completed box size: 4-1/4" x 4-1/2" x 1-1/2"

ADD-ON DETAILS

Warm Wishes Cards & Envelopes
Available for purchase only while supplies last.
Item number: 163985
$14.00 

This add-on includes:
• 20 Cards & Envelopes 
• Irisdescent glitter accents on paper
• Folded card size: 5" x 7"

Subscribe to Paper Pumpkin by November 10 to get this month's kit.  

Subscribe here.

----------------------------------------------------------------------------------------------
Thank you!

Thank you for your continued support for my small business!  I was able to earn some amazing rewards from Stampin' Up! this year.  That is entirely because of YOU!  My amazing customers, team, friends and family!  


----------------------------------------------------------------------------------------------

For up to date information on promotions, specials and more follow me on Social Media


Wednesday, November 1, 2023

Merry and Bright Truffle Box-VIDEO

Halloween is officially over so it's time to jump with both legs into our Christmas crafting!  Today I have a box that is perfect for mass production or those last minute treats you need!  It's cute and you can customize it with DSP YOU have and stamps YOU have.  It's the perfect treat!  I'm using the Merry and Bright Set and the Merry, Bold and Bright DSP from the Mini Catalog.  I just LOVE this DSP and the block greetings in the set are my very favorite!

stampin up, merry and bright

I stamped my greeting on Basic White Cardstock in Shaded Spruce Ink then trimmed it out to adhere onto my box.  I used some ribbon on the lid of the box to add a really fancy finish.  PRO TIP: By tying the ribbon only around the lid you'll save tons of ribbon and your box will easily open without having to untie ribbons.  Win/win!

stampin up, merry and bright

To finish my box I die cut some stars from the Holographic Paper with the Give It A Whirl Dies.  It adds enough sparkle to make any project festive.  Inside the box are two of the Lindor Truffles, a perfect sweet treat! 

stampin up, merry and bright

Make your own!

Shaded Spruce 5 1/2" x 6"
On the short side score at 1/2", 1 3/4", 3" and 4 1/4"
On the long side score at 1/2", 1 3/4" and 4 3/4"

Merry, Bold and Bright DSP
5 1/2" x 2 3/4"

Basic White and Holographic Paper for stamping and die cutting

Check out the video for all the details on this box.  While you're there make sure to subscribe to my YouTube Channel so you never miss a video. I have a full supply list below, you can shop for these products in my Online Store.  Online Exclusives are being launched on November 7, 2023.  Shop early for the best selection.  Online Exclusives available only while supplies last.  

stampin up, merry and bright