I have a fun project to share today! I'm sharing how to make a bagalope! A bagalope is a bag made from an envelope. It's one of the first 3D items I learned to make when I first started years and years and years ago. I've been breaking out lots of the older techniques lately. I'm loving bringing them back and putting a new spin on them! The thing I love about the bagalope is that you don't need any special tools or equipment, just an envelope and a paper trimmer.
I'm using two DSPs on my project today. The background is from the Stargazing DSP and the animals are fussy cut from the Zoo Crew DSP. Both are must have DSP's! I added some ribbon to the top of my bagalope, you could also add a cute clip. Inside my bagalope are some of the Target nuts. Target sells a huge variety of nuts and trail mix in these packages. They're all the same size so they'll all fit. It's a good option for a treat more on the healthy side.
Make Your Own:
Notecard Envelope
Seal and trim off the edge of one short side
Score at 1/2" on the other three sides.
Stargazing DSP 2" x 4"
Black 2 3/8" Circle Punch
Make sure to check out the video for all the details on this bagalope. While you're there make sure you subscribe to my YouTube Channel so you never miss a video. I have a full supply list below. You can shop for these products in my Online Store. If you love the Zoo Crew DSP, check back on Friday for more fun projects featuring the Zoo Crew DSP!
I have another project to share using the Modern Garden Bundle and Garden Walk DSP. Both products will be available in our upcoming Mini Catalog starting September 6, 2023. This card is sooo pretty! I pulled out my Wild Wheat again to coordinate with the DSP. I love that subtle background. I stamped a variety of flowers and fussy cut them out. Sorry no dies or punches for the flowers.
I used the Bough Punch for the leaves, the stamp set does have leaves but they're a little small and as much as I love fussy cutting those weren't for me to fussy cut, at least now. Maybe at a later date. I used the Modern Oval Punch that coordinates with the bundle for my greeting and added the flowers around that. For some sparkle and shine I added some Wild Wheat Dots to the card. I have a full supply list below. You can shop for these products in my Online Store. Mini Catalog products will be available on September 6, 2023 when the catalog launches or Join My Team today and put them in your Starter Kit.
Welcome to another installation of my Sunday Series on my blog and YouTube Channel! I'm so excited to bring you Sneak Peek Sundays! Every Sunday through September 3rd I'll bring you an amazing project featuring some of our new products coming in the September-December (or Holiday) Mini Catalog. There's some incredible products and I can't wait to share them with you! Right now these products are only available to demonstrators but if you love them and don't want to wait consider purchasing the Starter Kit and add these products in your Starter Kit today!
Today I'm showcasing the Garden Walk Suite of products. Even if you decided you don't *need* another flower set, I get it! Please get the DSP, it is sooooo stunning! I've already ordered a second package because it's so pretty. I have become OBSESSED with the colors in this DSP. For you Wild Wheat haters out there, this DSP might change your mind! Wild Wheat and Calypso Coral are my newest favorite color combo!
What sets the Modern Garden Bundle apart from other floral bundles is the ability to stack images to make amazing and unique flowers, including some poinsettias for Christmas. A floral set that works in ALL seasons! I'm here for that! The bundle includes the punch which I'm LOVING!! It's a fun oval that is so good and versatile! Also included in the suite are the Calypso Coral Braided Trim and the Pearls-sooooo pretty! In my supply list, I list the suite which includes the bundle, trim, pearls and DSP. I've also listed everything individually if you only want to put one or two of the items on your wishlist. There are no dies so the flowers do have to be fussy cut. That might be a con for you but it's a pro for me!
For my box today, I'm making a shadow box. I'm not going to sugar coat this and lie to you and say this box is super easy to make. The truth is every time I sit down with a shadow box in mind I have to re-research how to make one. I always mess up measurements on the first one. But I mess them up so you don't! I always refer to this post of mine from a couple years ago to remind myself how to make a shadow box. Shadow boxes are not hard to put together, but there's some specific score lines and trimming that has to be done correctly for a successful one. I'm going to break it all down step by step in my video. Watch that for all the details. Inside my box is a See's Chocolate Bar. We have a See's Candies in out local mall and it is THE. BEST. CHOCOLATE. I keep a box of them stashed away from the kids and I have one piece of my 'mom chocolate' when I fell like the kids are just driving me batty, it's therapy chocolate. If you've never tried See's they're worth the investment!
Make your own!
Calypso Coral 6 1/2" x 10 1/4"
On the long side score at 1/2", 1", 1 1/2" and 2" on each side
On the short side score at 1/2", 1", 1 1/2" and 2" on each side, then score at 2 1/2" and 4" ONLY to the second score line.
Wild Wheat 6 1/4" x 7 1/4"
DSP 6" x 2 1/4" plus two 1/2" strips
Check out my video for all the details. Don't forget to subscribe to my YouTube Channel while you're there so you never miss a video. I have a full supply list below. You can shop for these products in my Online Store. Mini Catalog products will be available on September 6, 2023 or you can add them to your Starter Kit today when you join my team!
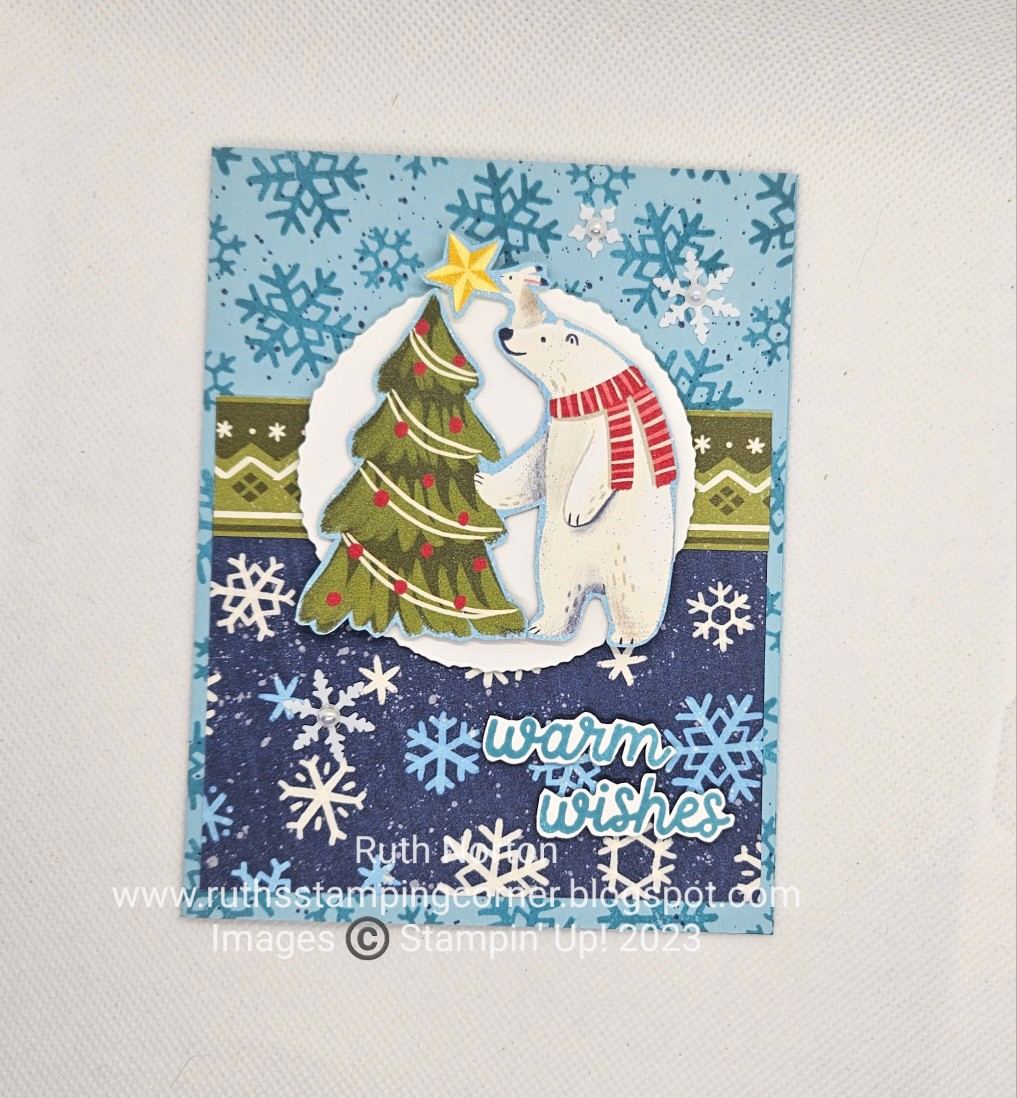
On Sunday I shared an adorable box featuring the upcoming Beary Cute Bundle. Check it out here if you missed it. Today I'm sharing another adorable project featuring the Beary Christmas DSP that coordinates with the set. I am not using the punch today but make sure you put the entire bundle on your wishlist. You'll want it! The DSP is so adorable too!!!
The image is fussy cut directly from the DSP. It's too cute to not make cards with it. I used some of the DSP in the background too. I used the set to add some stamped snowflakes and for my greeting, also fussy cut. I finished the card with some Adhesive Snowflakes and Iridescent Pearls. I have a full supply list below. Items from the Mini Catalog will be available on September 6, 2023 or get them now when you Join My Team and add them to your Starter Kit purchase.
I am so super excited to bring you this project. It's out of this world cute! Wait until you see what's inside! I'm using the Stargazing Suite of products for this one. The suite includes the Reach For The Stars Bundle, Stargazing DSP and Holographic Trio Paper. This is one of my favorite suites in the catalog, I've used this one a TON! Especially the DSP!
The space shuttle on this card is my favorite! I used StazOn Ink in Black and stamped onto the Holographic Paper. You can also use some embossing powder for an added bit of shine! I just LOVE this paper! I also used the Holographic Paper for the rings on my planet. When you're stamping onto the Holographic Paper or any slick paper you need to be very careful and stamp straight down and straight up, any wiggle at all will smear your image.
I used Orchid Oasis for my base of my box and my flap is made with the Stargazing DSP. I used some button magnets from Amazon to keep my box closed. The box is fairly large, it's about 5" high, 3 1/2" wide and 1" deep.
Inside my box are these ADORABLE cat astronaut socks. They're adorable! I found these at my local Wal Mart on a recent trip. I thought immediately of a box with the Stargazing Suite. If you can't find similar socks lots and lots of different treats will fit in this box.
Make Your Own:
Orchid Oasis 11" x 5 1/2"
On the long side score at 5" and 6"
On the short side score at 1" each side
DSP Lid 3 1/2" x 3 1/2"
On one side score at 3/4"
DSP Front 4 3/4" x 3 1/4"
DSP Strips 4" x 1/2"
Check out the video for all the details on this box. Make sure to subscribe to my YouTube Channel so you never miss a video. I have a full supply list below. You can shop for these products in my Online Store.
Over the weekend I held my August in person class. If you're in the Albuquerque, NM area I'd love to welcome you to a class. Please reach out and let me know you're interested in attending. These are the five cards my guests made. I don't have supply lists or measurements for them, that's a perk for my in person guests.
Up first is the Hello Ladybug card. This stamp set and punch have been around a while and I love to pull it out, especially in the summer! This card is sooo cute with the Wanted To Say Dies.
I pulled in some of the new In Colors for my next card. I paired them with the Lighting The Way Stamps and Dies. It's a simple card but it is so pretty and stunning! I love the bold black and white lightning bugs off those muted colors.
Probably my favorite stamp with birds is the Bird's Eye View Set. It's so adorable! We made this fun fold card and the pinks are everything on this card. You can change it up to shades of blues or greens, gorgeous!
I couldn't do a class featuring wings and not include the Hey Chuck Bundle. This card is perfect for guys or gals and is soooo adorable! We did super simple coloring, it doesn't have to be complicated to be cute!
Finally, the last card uses the Wildlife Wonder Set and the Delightfully Eclectic DSP. There is something for everyone in this DSP stack! I love the simplicity of this card!
Welcome to another installation of my Sunday Series on my blog and YouTube Channel! I'm so excited to bring you Sneak Peek Sundays! Every Sunday through September 3rd I'll bring you an amazing project featuring some of our new products coming in the September-December (or Holiday) Mini Catalog. There's some incredible products and I can't wait to share them with you! Right now these products are only available to demonstrators but if you love them and don't want to wait consider purchasing the Starter Kit and add these products in your Starter Kit today!
Today I'm using the new Beary Cute Bundle. This bundle is not just for Christmas! While the greetings and some of the images are definitely winter/holiday themed you can stretch this bundle to last all year long! I love a bundle that can be used for mulitple occasions. This is a punch bundle and I think this one will be pretty popular. If you love it, plan to get it when the catalog launches or add it in your starter kit!
I've made lots of versions of this angled edge box in the past. It's very fancy looking but so super simple! All your friends will be completely amazed! Inside my box are some chocolate graham cookies from my local Walmart. Truth be told I choose these over the Teddy Grahams because I liked the purple packaging better. Plus my daughter says they're cuter because they're holding honey pots. I colored my bears on the front of my box using Stampin' Blends, I made them brown bears to match the chocolate cookies.
Make your own!
Gorgeous Grape and Early Espresso 7" x 6 1/2"
Score 1" on all sides
DSP 4 3/4" x 3"
Early Espresso 4 1/4" x 1 1/2"
Check out my video for all the details. Don't forget to subscribe to my YouTube Channel while you're there so you never miss a video. I have a full supply list below. You can shop for these products in my Online Store. Mini Catalog products will be available on September 6, 2023 or you can add them to your Starter Kit today when you join my team!
I have another fun card using the Curved Occasions Bundle coming in the upcoming Mini Catalog. I hope this week I've been able to show you some fun possibilities with this bundle. It's so much fun to play with! Today I have a diagonal gate fold card for you. This fold is super simple, but super popular. Everyone loves it! I have a video from earlier this year that you can check out that shows how I did this diagonal fold.
I stamped my greeting and colored it with Stampin' Blends. I have all the colors listed below. I fussy cut my image, there are no dies. If you didn't want to fussy cut you can stamp directly onto the square and leave off the Zoo Crew DSP. It would still look amazing!
For one of my front panels I added DSP from the Bright and Beautiful pack, use a piece of DSP that is 5 3/8" x 4 1/8" and trim it half diagonally to fit your card. For the other panel I stamped a greeting over and over. I added some black splatter with my Basic Black Stampin' Write Marker
Make your own!
Soft Sea Foam Cardstock 8 1/2" x 11"
Score on the short side at 4 1/4"
Score on the long side at 5 1/2"
Trim in half diagonally
DSP one piece 5 3/8" x 4 1/8" trim in half diagonally
I have a full supply list below. You can shop for these products in my Online Store.